


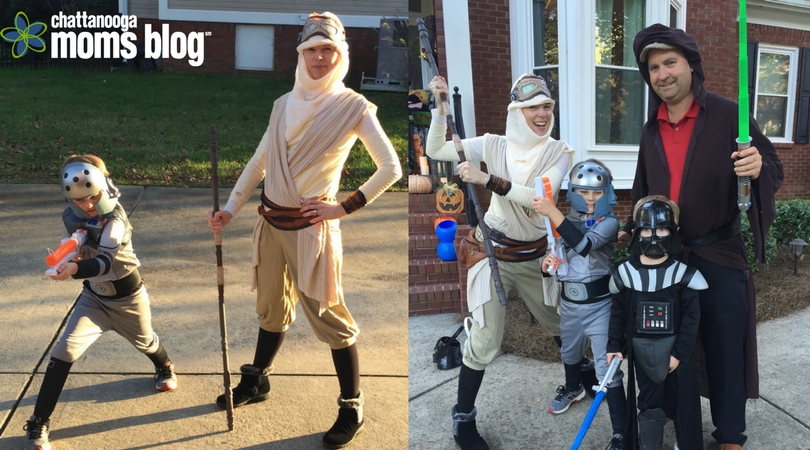
If you’re like me, then you may feel like you are reliving the ’70s and ’80s, and not in a good…disco dancing, rollerskating…kind of way. Nope. I’m talking about Princess Leia, Han Solo, Kylo Ren, Finn, etc. I think you get the picture. My boys have become obsessed with Star Wars. How about your kids? For the past two years, we, as a family, have dressed in a combination of Star Wars characters.
Let me explain the beginnings of this family obsession.
As a child, my brother was a huge fan of Star Wars. Not long after we moved here, I realized my husband harbored the same interest. One day at his parents’ house we found an original Star Wars glass and then we found some of the original figures.
It was like hitting the jackpot!
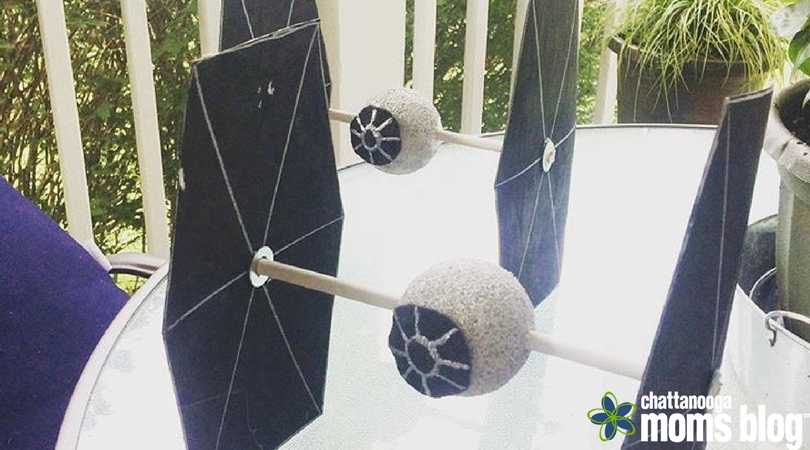
Last year, after discovering my boys’ Star Wars interest, my brother and his family sent a few holiday gifts — one of the gifts, a book of Star Wars crafts, was a big hit with the boys. The book titled Star Wars Mania – Crafts, Activities, Facts, and Fun! has a variety of activities for many different ages and skill levels. So, this summer, on an extremely hot day, we started a project. It does need adult supervision since you’ll need to use a craft knife as well as hot glue. But, my boys (ages six and four at the time) were able to paint and help with the majority of the project, which we worked on outside. To keep the paint contained, I mixed it in a disposable aluminum pan so that the boys could paint without it getting all over the porch. We made two TIE Fighters, but you could make a few to hang in a room.
By the time you all finish the project, your house will be prepared for the newest release, The Last Jedi, opening this month.
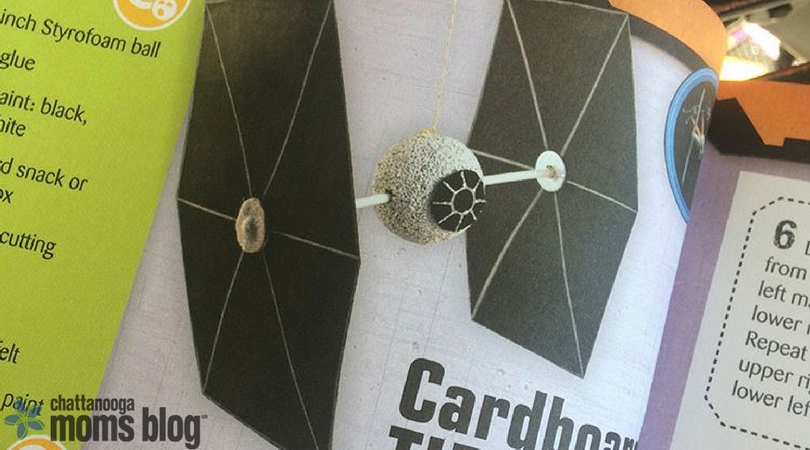
What you need for one project:
12 inch dowel
Craft knife (I used an X-Acto knife)
2 ¼ inch Styrofoam ball
Craft glue
Craft paint: black, white, gray
Cardboard snack or cracker box
Ruler
Black and gray felt
Silver and gray 3D paint
Hot glue gun
4 metal washers
White colored pencil
Pushpin
String or fishing line
Instructions:
- Cut 3 inches off the dowel (I went to the local hardware store to do this step). It needs to measure 9 inches. Insert the dowel through the center of the Styrofoam ball. Add some craft glue (or hot glue) to the ends and secure it in place.
- Mix 1 part gray paint with 5 parts white to get a muted gray color. Paint the Styrofoam ball and the dowel with this mixture and set aside to dry. (We set them to dry in another disposable aluminum pan.)
- Cut the box apart — you’ll need the front and back panels. Each panel should measure 9”x6”. (I completed this part — you could use scissors, but I used the X-Acto knife.) Note: The next four steps help to get the exact cut for the wings. It doesn’t take long at all. Plus your kids can learn to use a ruler.
- Use a ruler to draw a straight line horizontally through the center of the panel.
- Make pencil markings 1 inch from each corner.
- Draw a line from the upper left mark to the lower right mark. Repeat for the upper right and lower left marks.
- Draw a line from the upper left mark down to the center line at the side. Repeat this for each corner, drawing a line to the center. Trim off the four corner diagonal pieces.
- Repeat those four steps for the second panel.
- You can use an X-Acto knife to carefully lift the shiny paper from the front of the box panels (I didn’t do this step since it’s difficult and time consuming). The paint will cover this side.
- Paint one side of both panels black and set aside to dry. Repeat for the other side.
- Cut a circle from black felt measuring 1 ½ inches in diameter (again, kids can help with the measurement).
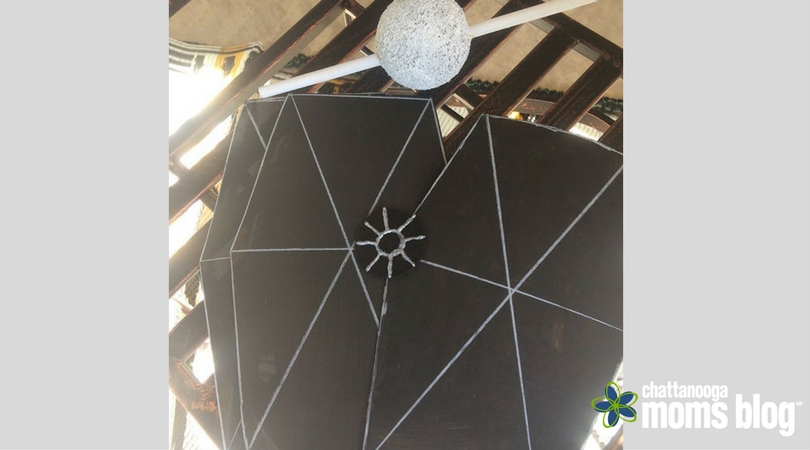
- Use 3-D paint to draw a circle in the center. Add eight equally spaced lines (like sun rays) coming from the center circle to the edge of the felt circle. Allow the 3-D paint to dry completely.
- When dry, use craft glue (or a hot glue gun) to attach the black felt circle to the gray Styrofoam ball to create the cockpit.
- Once the paint is dry on the wings, use the white colored pencil to draw diagonal and horizontal lines onto the black panels (see picture below). Outline the panels with pencil as well.
- Use hot glue to stick a washer to each side of the panel at the center. Poke a hole through the center of the washer. Repeat for second panel.
- Add some hot glue to the center of the washer and insert one end of the dowel. Be sure that the cockpit window is lined up correctly. Repeat for the other panel. Secure with additional glue if needed.
- To hang your TIE fighter, tie a piece of string to a pushpin and secure with hot glue to the top of the cockpit and push the pushpin into the glue. (Because it’s clear, I used some jewelry wire or you could use fishing line.)
With the remaining Styrofoam balls, we made planets. Mix various colors of Model Magic and wrap it around the Styrofoam balls. Let it dry. Then you can hang them with the TIE Fighters.
Do you have a favorite Star Wars craft? Let us know if you have other ideas or if you enjoyed this craft.


